
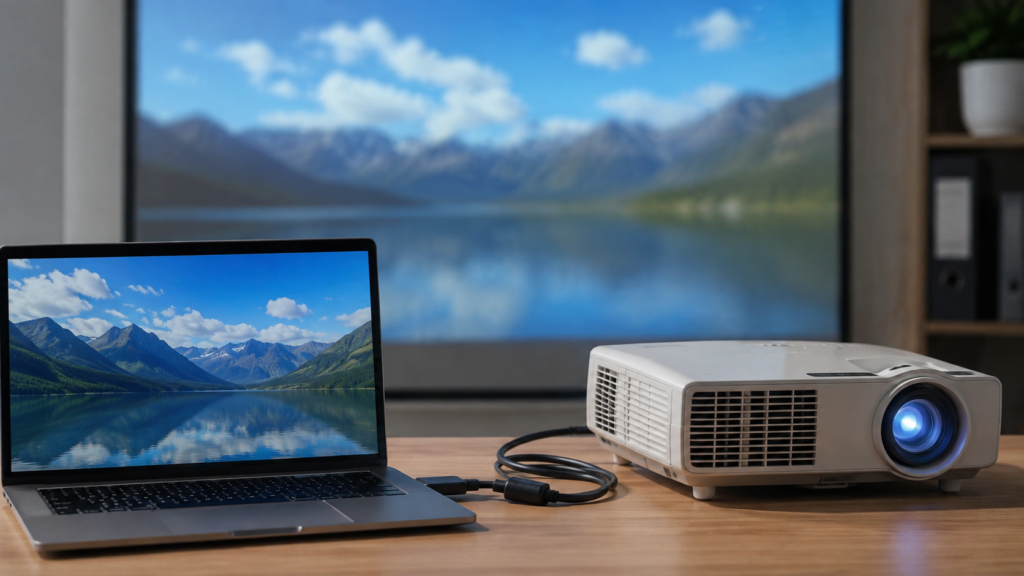

Setting up a projector should be simple, yet many people still hit a wall the moment they need to plug in for a presentation, a classroom lesson, or a relaxed movie night at home. Understanding how to connect projector to laptop correctly removes the guesswork and prevents that frustrating “no signal” screen right when you need the display most. This guide walks through every practical method available today.
From HDMI and USB-C to fully wireless casting and the older VGA standard, each connection type has its own strengths depending on your laptop, projector model, and the environment you’re working in. By following the steps below, you’ll be able to choose the right method quickly, adjust your display settings properly, and troubleshoot common issues without wasting time during an important meeting or event.
Getting Ready Before You Connect
Before attempting how to connect projector to laptop, take a moment to identify the ports available on both devices. Most modern laptops include HDMI or USB-C/Thunderbolt, while some older machines still rely on VGA or standard USB-A. Projectors vary widely as well, so confirming compatibility first prevents unnecessary frustration and saves time once you’re actually ready to present or stream content.
When your laptop and projector don’t share a matching port, adapters solve the problem instantly. A USB-C to HDMI adapter, for example, allows a slim modern laptop to work with an older projector without any extra hardware purchases. If you present in different rooms or venues regularly, keeping a small adapter kit in your bag ensures you’re never caught unprepared by unfamiliar equipment.
Connecting With HDMI
HDMI remains the most dependable way to connect a laptop to a projector because it transmits both high-quality video and audio through a single cable. Begin by plugging one end into your laptop’s HDMI port and the other into the projector, then power on both devices and select the matching HDMI input source directly from the projector’s on-screen menu system.
On Windows laptops, pressing Windows plus P opens display options including Duplicate, Extend, and Projector Only modes. Certain laptop models also use a dedicated function key, often Fn plus F8, to toggle output. Mac users can manage this through System Settings under Displays. If the screen stays blank, recheck the projector’s selected input before assuming the cable itself is defective.
Connecting With USB or USB-C
Many newer laptops have moved away from traditional HDMI ports in favor of slim, multipurpose USB-C or Thunderbolt connections, making an adapter essential for many users. This approach carries both video and audio through a single cable, offering a clean and modern solution for anyone whose laptop no longer includes a dedicated HDMI output for external displays.
It’s important to understand that a standard USB-A port typically transmits data only and cannot output video, so plugging a projector directly into USB-A will not produce any image. If your projector supports native USB-C input, a direct cable eliminates the need for an adapter altogether. When the connection isn’t recognized, updating your laptop’s display drivers frequently resolves the issue.
Connecting Wirelessly
Wireless setups continue to grow in popularity for anyone wanting to skip cables entirely and present with more freedom of movement. Built-in casting features like Windows plus K let compatible laptops connect instantly to Miracast-enabled projectors, while Mac users can rely on AirPlay-compatible projector models for a similarly effortless, cable-free connection experience during meetings or streaming sessions.
For projectors that lack native wireless support, a dedicated wireless HDMI transmitter bridges the gap effectively. Simply connect the receiver unit to the projector’s HDMI port and pair it with your laptop through the manufacturer’s app or built-in system settings. While convenient, wireless connections can occasionally introduce slight lag, so a wired HDMI setup is still preferable for fast-motion video or interactive content.
Connecting With VGA for Older Projectors
Some older projectors, particularly those found in schools, libraries, and long-standing conference rooms, still rely exclusively on VGA connections. To use this method, plug the VGA cable into both the laptop and projector, then select the corresponding input source from the projector’s menu. Remember that VGA transmits video only, so a separate audio cable is required for sound.
Although VGA remains functional and widely supported, it lacks the sharper resolution and simplicity offered by HDMI or USB-C alternatives. If your current laptop no longer includes a VGA port, a compact HDMI-to-VGA adapter restores compatibility without forcing you to replace otherwise perfectly functional older projector equipment still in regular use across many organizations.
Fine-Tuning Your Display Settings
Once your laptop and projector are physically connected, choosing the right display mode significantly improves the experience. Extend mode works well for presenters who want to view speaker notes privately while the audience only sees the slides, whereas Duplicate mode mirrors your screen exactly, making it ideal for movies, demonstrations, or straightforward group viewing sessions.
You may also need to adjust resolution, aspect ratio, or keystone correction to fix a warped or stretched image on the projected screen. Most projectors include a dedicated on-screen menu for these adjustments. Don’t overlook audio routing either, since certain setups require manually selecting the projector as your default sound output device before playback works correctly.
Fixing Common Connection Problems
If your projector isn’t detecting the laptop, start by confirming the correct input source has been selected and that the cable is fully seated in both ports. A simple restart of both devices resolves a surprising number of connection failures, especially following recent software updates or graphics driver changes that may have altered display output behavior.
Wireless connections that drop intermittently usually indicate signal interference or outdated transmitter firmware. Updating your laptop’s graphics drivers, positioning the devices closer together, or reducing interference from nearby electronics often eliminates the problem. For high-stakes presentations, switching to a wired HDMI connection remains the safest way to avoid last-minute technical disruptions altogether.
Preparing for a Smooth Presentation or Movie Night
Always test your projector connection well before the actual event rather than during it. Arriving early to confirm the laptop and projector recognize each other prevents unnecessary stress in front of colleagues, students, or guests. Carrying a backup HDMI cable or adapter is a small habit that consistently pays off when equipment doesn’t behave as expected.
Adjusting brightness and color settings based on the room’s lighting conditions produces a noticeably clearer picture for viewers. Running through a quick checklist covering battery level, cable condition, and backup connection options keeps your setup running smoothly, whether you’re closing an important business deal or simply hosting a relaxed movie night with family and friends.
FAQs
How do I connect my laptop to a projector without HDMI?
Use a USB-C to HDMI adapter, a native USB-C cable if your projector supports it, or fall back on a VGA cable when working with older projector equipment.
Why is my laptop not detecting the projector?
Check that the projector’s input source matches the connection type, confirm the cable is securely plugged in, and make sure your display drivers are fully updated.
Can I connect a laptop to a projector wirelessly without a dongle?
Yes, as long as both devices support built-in wireless casting, such as Miracast through Windows plus K or AirPlay on compatible Mac and projector combinations.
What is the keyboard shortcut to switch display to a projector?
On Windows, press Windows plus P; many laptops also use a function key like Fn plus F8 to toggle between display output modes quickly.
Does USB-C carry both video and audio to a projector?
Yes, USB-C and Thunderbolt ports can transmit video and audio together in a single connection, unlike standard USB-A ports, which only handle data transfer.
Why does my projector show no signal even after connecting the cable?
This usually means the wrong input source is selected. Cycle through the projector’s source menu until the correct HDMI, USB-C, or VGA option appears.
Can I connect a Mac laptop to a projector using HDMI?
Yes, either through a direct HDMI cable or a USB-C to HDMI adapter if your MacBook lacks a built-in HDMI port, then adjust settings under Displays.
How do I fix lag when using a wireless projector connection?
Update the transmitter’s firmware, reduce the distance between devices, minimize nearby wireless interference, or switch to a wired HDMI connection for critical situations.
Final Thoughts
Knowing how to connect projector to laptop doesn’t need to be complicated once you understand the available options and how each one works. HDMI delivers the most dependable image and sound quality overall, USB-C offers a sleek modern alternative for slimmer laptops, and wireless casting provides genuine convenience whenever physical cables aren’t practical or available in the room.
Most connection problems trace back to something simple: an incorrect input source, a loosely connected cable, or outdated drivers that need refreshing. With the methods and troubleshooting tips covered throughout this guide, you can confidently set up virtually any projector for work, school, or entertainment purposes, resolving issues quickly whenever something doesn’t display as expected.