
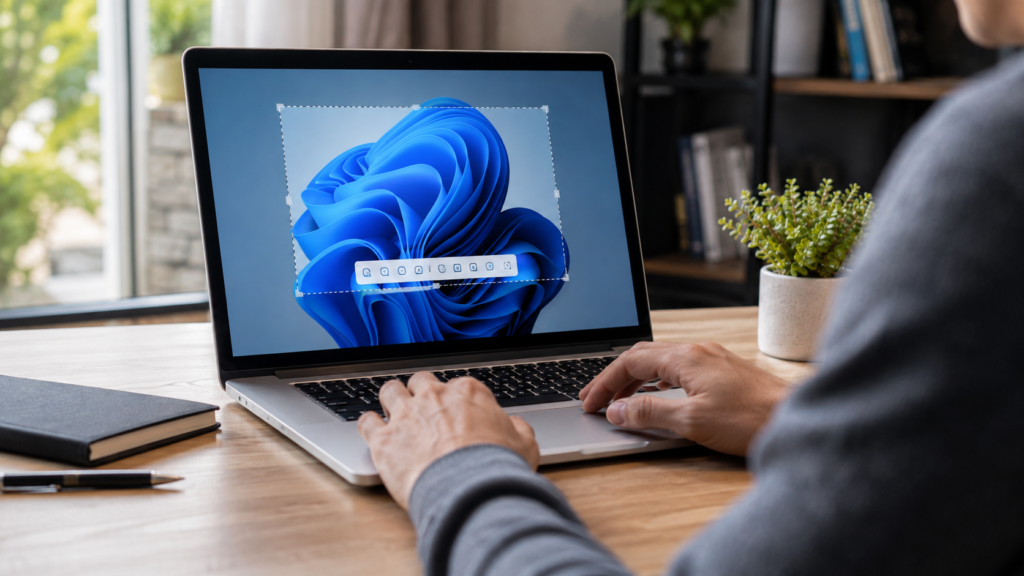

Learning how to take a screenshot on laptop devices is one of those small skills that saves an enormous amount of time once you actually know it. Whether you’re working on a Windows machine or a MacBook, the process only takes a couple of seconds — yet the exact keys you press depend heavily on your operating system, and sometimes even on your specific laptop brand or keyboard layout.
In this guide, you’ll find several simple, tested methods for taking screenshots on laptop computers, along with troubleshooting tips for tricky keyboards and guidance on where your captured images actually end up. By the end of this article, you’ll never need to search for the right shortcut again and will be able to capture your screen confidently, no matter which device you’re using.
Why You Might Need to Take a Screenshot
Screenshots are one of the most practical tools in everyday computer use, and most people rely on them far more often than they realize. They’re used to save order confirmations, capture error messages before contacting tech support, document conversations for future reference, or build step-by-step tutorials for coworkers and clients. A single screenshot often communicates far more clearly and quickly than an entire paragraph of typed explanation ever could.
For remote workers and students especially, knowing how to take a screenshot on laptop devices has become an everyday necessity rather than an occasional convenience. It’s used constantly for reporting software bugs to development teams, submitting proof of completed assignments, sharing presentation slides during virtual meetings, and preserving important information from webpages before it changes, expires, or disappears entirely.
Windows Key + Shift + S: Capturing a Selected Area
This is the fastest and most flexible way to take a screenshot on Windows laptops. Press Windows Key + Shift + S, and your screen will dim slightly while your cursor transforms into a crosshair, signaling that you’re ready to select your capture area. Click and drag over the exact section you want, whether that’s a paragraph of text, an image, or a small pop-up window.
Once you release the mouse button, the image is copied directly to your clipboard rather than saved as a file automatically. From there, you can paste it (Ctrl+V) into an email, a Word document, or a chat application like Slack or Teams. This method is ideal when you only need a small, specific section of the screen rather than capturing the entire display.
Windows Key + PrtScn: Capturing and Saving the Full Screen
If you want to capture your entire screen without any extra steps or manual pasting, press Windows Key + PrtScn together. The display will flash briefly to confirm the screenshot was taken successfully, and the resulting image will be saved automatically without requiring you to open another application first.
You’ll find the saved file inside your Pictures > Screenshots folder, neatly timestamped and ready to use whenever you need it. This method is especially useful when you need to quickly document your entire desktop, a full webpage layout, or a complete application window for later reference, training materials, or troubleshooting.
PrtScn Alone: Copying to Your Clipboard Only
Pressing just the PrtScn key captures your whole screen, but unlike the previous method, it doesn’t automatically save the image as a file. Instead, it copies the screenshot to your clipboard, so you’ll need to open an application such as Microsoft Paint, Word, or even a blank email draft and paste it manually using Ctrl+V before it becomes a usable file.
This approach works particularly well if you’re planning to edit or crop the screenshot immediately after capturing it, since pasting the image into Paint gives you instant access to basic markup and cropping tools. It’s a great choice for anyone who wants a bit more manual control over how and where their screenshot ends up before saving the final version.
Alt + PrtScn: Capturing Only the Active Window
Sometimes you don’t want your entire cluttered desktop showing up in a screenshot — you want the one program or window you’re currently working in. Pressing Alt + PrtScn captures only the active window, automatically cropping out everything else in the background. Paste it using Ctrl+V into any document, chat window, or image editor once you’re ready.
This is one of the most underused tricks for anyone learning to take screenshots on laptop setups with multiple open windows or dozens of browser tabs, since it eliminates the tedious extra step of manually cropping out distracting or unnecessary background content afterward. It saves both time and effort compared to editing a full-screen capture afterward.
Laptops Without a Dedicated PrtScn Key
Some compact laptops, particularly slim ultrabooks designed for portability, skip the dedicated Print Screen key entirely to save space on the keyboard. If your laptop is missing it, try pressing Fn + Windows Key + Space Bar, or Fn + PrtScn, since the screenshot function is often mapped to another key that requires the Fn modifier to activate properly.
This particular quirk is common on laptop brands like HP, Lenovo, and Dell, especially their thinner ultrabook models. If neither key combination works as expected, it’s worth checking your laptop manufacturer’s official support page, since some models remap this shortcut slightly differently depending on regional keyboard layout or firmware version.
How to Take a Screenshot on a MacBook
MacBook users use an entirely different set of shortcuts than Windows laptop users. Press Shift + Command + 3 to capture your full screen instantly. A small thumbnail will briefly appear in the corner of your display, giving you quick access to edit or annotate the image before it’s saved. For a more targeted capture, use Shift + Command + 4 and drag your cursor over the specific region you need.
For even more control, Shift + Command + 5 opens a full screenshot toolbar, allowing you to capture the entire screen, a single selected window, or record a short screen video with audio. By default, Mac screenshots save directly to the Desktop as PNG files, though this save location can be changed at any time via the toolbar’s built-in options menu.
Using the Snipping Tool for More Control
Windows laptops also come equipped with a built-in application called the Snipping Tool, which offers considerably more flexibility than the basic keyboard shortcuts alone. You can search for it directly in the Start menu, then choose between free-form, rectangular, window, or full-screen snip modes depending on exactly what you’re trying to capture at that moment.
One standout feature worth mentioning is the built-in delay timer, which lets you set up a screenshot of a drop-down menu, tooltip, or hover state before it disappears from view. The tool also includes basic annotation options, allowing you to highlight important details or write directly on the image before saving, printing, or sharing your final screenshot with others.
Where to Find Your Screenshots After Capturing
On Windows, most screenshots save automatically to the Pictures > Screenshots folder, unless you’re using one of the clipboard-only methods like PrtScn or Alt + PrtScn, which require manual pasting and saving instead of automatic file creation. On Mac, screenshots default to the Desktop, appearing as neatly labeled PNG files with a timestamp included in the filename.
If you’d prefer to organize your files differently, both operating systems allow you to customize the default save location to suit your workflow. On Windows, this adjustment can be made through File Explorer’s folder properties. At the same time, Mac users can change it directly from the Shift + Command + 5 toolbar’s options menu without additional software.
Troubleshooting Common Screenshot Problems
If your PrtScn key doesn’t respond at all, check whether your laptop requires the Fn key to activate it, since many slim, modern laptops fold this function into another key by default to save physical space. Restarting your laptop or updating your keyboard drivers through Device Manager can also resolve unexpected shortcut failures that seem to appear out of nowhere.
Another common issue is a screenshot that copies to the clipboard but never actually saves as a file — this usually means you used PrtScn alone rather than the Windows Key + PrtScn combination. If pasting fails, first double-check that the application you’re pasting into, such as Paint or Word, is open, active, and properly focused on your screen.
Bonus Tips for Better Screenshots
For capturing an entire webpage that’s too long to fit on a single screen, many modern browsers offer a built-in “full-page screenshot” option tucked inside their developer tools menu, or you can install a lightweight browser extension designed specifically for scrolling captures across long pages. This saves you from manually stitching together multiple screenshots.
Once you’ve captured your image, both Windows’ Snipping Tool and Mac’s screenshot toolbar allow for quick annotation, including adding arrows, text boxes, or colored highlights before saving or sharing the file. Bookmarking this guide means you’ll always have a reliable, quick-reference resource for how to take a screenshot on laptop devices, regardless of which platform or brand you’re currently using.
Read More: https://techustime.co.uk/data-visualization-software/
FAQs
What is the keyboard shortcut for taking a screenshot on a laptop?
On Windows, the most common shortcuts are Windows Key + Shift + S for a selected area, or Windows Key + PrtScn for a full-screen capture that saves automatically. On MacBooks, press Shift + Command + 3 to capture the entire screen, or Shift + Command + 4 to select a specific area of your display.
How do I take a screenshot of just one window, not the whole screen?
On Windows, press Alt + PrtScn to capture only the currently active window, then paste it using Ctrl + V into any document or app. On Mac, use Shift + Command + 4, then press the Space Bar and click directly on the specific window you want to capture.
Where do screenshots get saved on Windows?
Screenshots taken using Windows Key + PrtScn are saved automatically to the Pictures > Screenshots folder, with no extra steps required. Screenshots copied using PrtScn alone or Alt + PrtScn only go to your clipboard and must be pasted manually into an application before you can save them as a file.
Why isn’t my PrtScn key working?
Many slim, modern laptops require you to hold the Fn key while pressing PrtScn to capture a screenshot. Try Fn + Windows Key + PrtScn instead, or check your laptop manufacturer’s official keyboard layout guide if the problem continues after trying that combination.
How do I take a screenshot on a laptop without a Print Screen button?
Try pressing Fn + Windows Key + Space Bar as a reliable alternative shortcut for capturing your screen. This particular workaround is common on compact, ultra-thin laptops that have removed the dedicated PrtScn key entirely to save physical space on the keyboard.
How do I take a screenshot on a MacBook?
Press Shift + Command + 3 to capture the full screen, or Shift + Command + 4 to select and capture a specific area only. For more advanced options, including screen recording with audio, use Shift + Command + 5 to open the complete screenshot toolbar.
Can I take a scrolling screenshot of an entire webpage?
Yes — most modern browsers include a full-page screenshot option tucked inside their developer tools menu, or you can install a dedicated browser extension built specifically for capturing scrolling content across an entire webpage in a single continuous image.
How do I edit or annotate a screenshot before saving it?
On Windows, the Snipping Tool includes basic markup features such as highlighting, cropping, and text annotations. On Mac, the Shift + Command + 5 shortcut opens the toolbar, where you can click the thumbnail preview in the corner to annotate the image before the file finishes saving to your Desktop.
Conclusion
At its core, learning how to take a screenshot on laptop computers isn’t complicated at all — it simply depends on knowing which shortcut matches your particular operating system and keyboard layout. Windows users have several flexible options to choose from depending on the situation, while Mac users benefit from a dedicated, all-in-one toolbar built directly into the system.
Once you’ve practiced these shortcuts a handful of times, they quickly become second nature and require no conscious thought at all. Whether you’re saving a receipt, reporting a software bug, or building out a visual tutorial for your team, you now have every method you need to capture your screen quickly, cleanly, and confidently, on any laptop brand or operating system you happen to be using.